MOVEit - Share Creation and Permission Assignment
Share Creation and Permission Assignment
- Log into the appropriate Horizon broker with your MG account and access the IT Support Desktops environment.
- Right-click the Windows logo/Start Menu and open Computer Management.
- Right click on Computer Management (Local) and click Connect to another computer...
- Enter the hostname of the machine/tool you will be creating the share and granting permissions on and click OK.
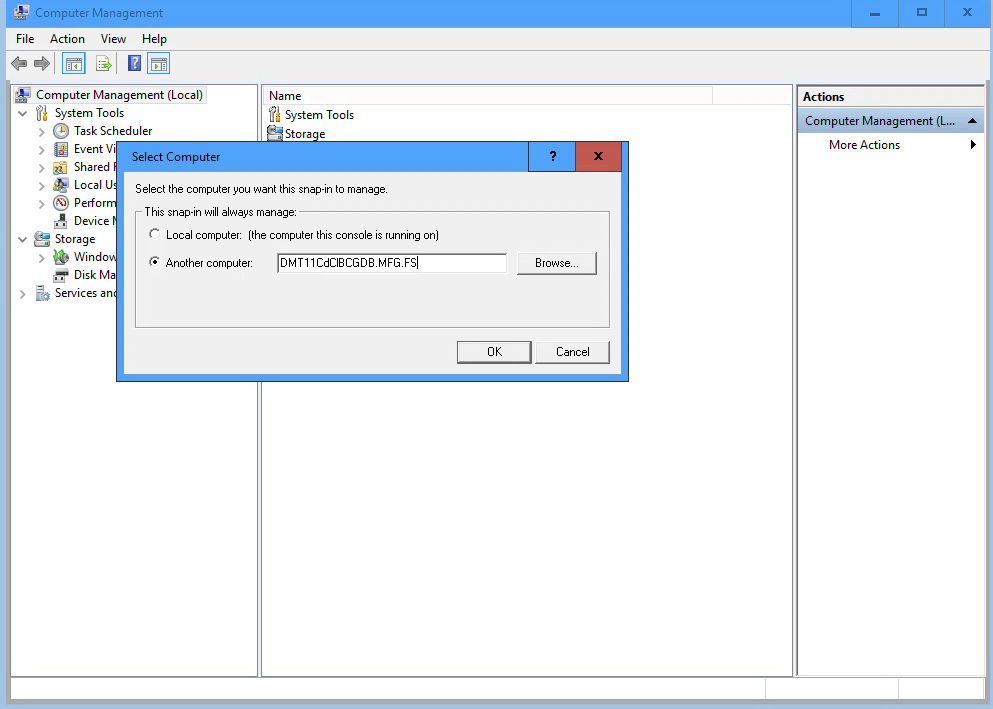
- Expand the System Tools > Shared Folders > Shares areas in the navigation on the left side of the window
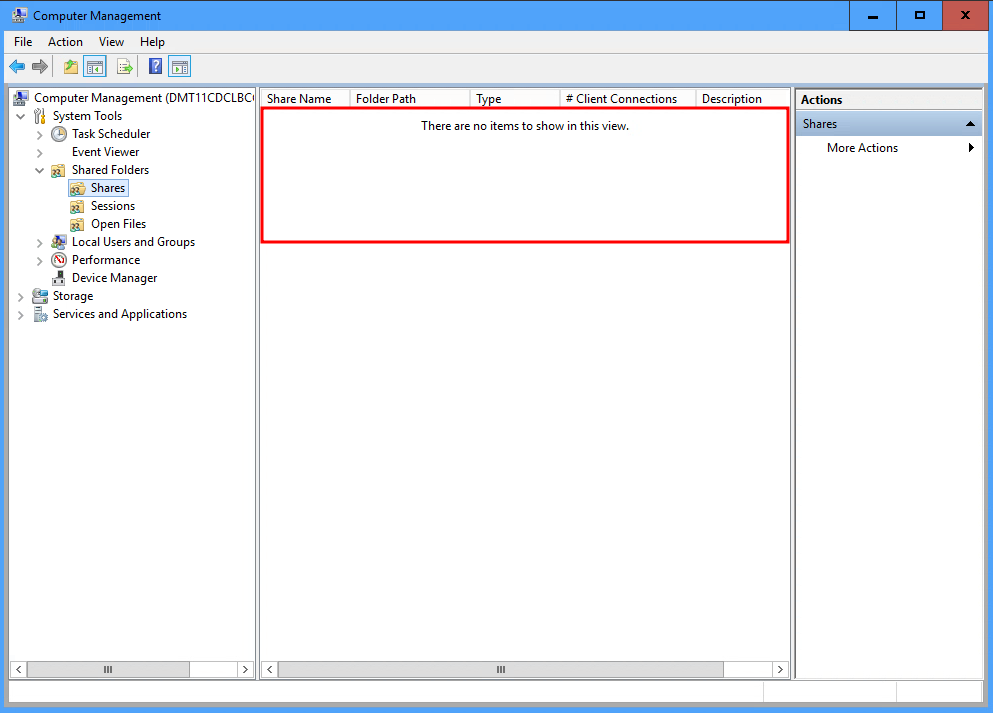
:::info My account does not have permissions to manage or create shares yet, so a new screenshot will need to be taken once that permission has been added. :::
- Right-click Shares and click New Share...
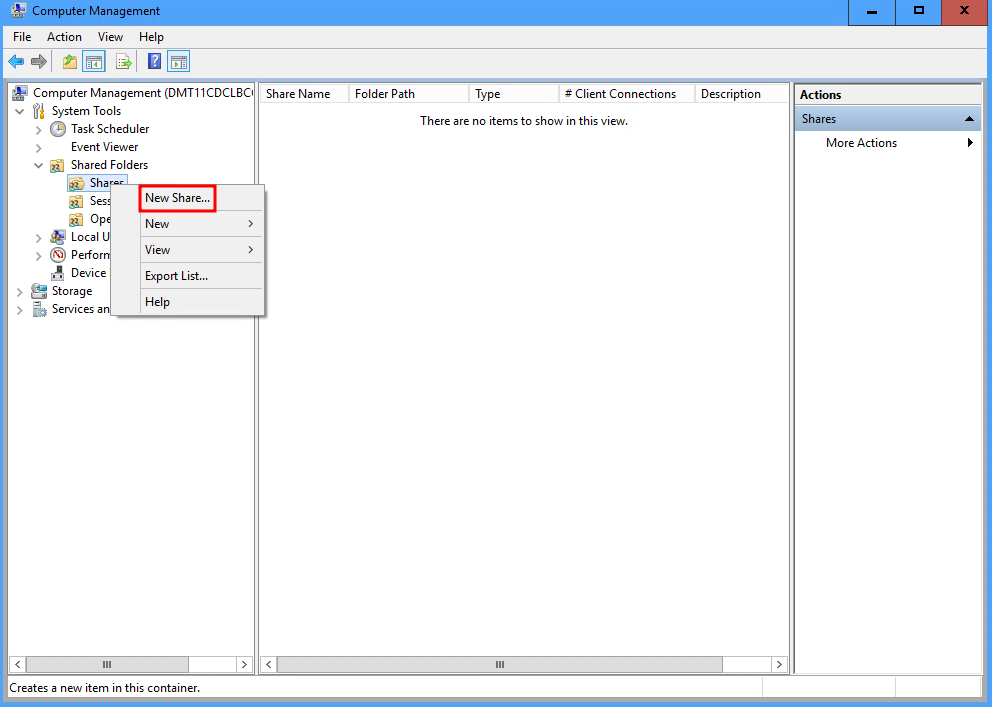
- In the new wizard that launches, click Next to continue and then click Browse... to navigate to the folder on the system that needs to be shared. Once it has been selected, click OK to proceed.
- ...
- ...
- ...
- Once the share has been created, add Full Access permissions for the
zSvc_MICentral_F_MFGaccount. - You will also add Full Access permissions for the
zSvc_MICentral_F_MFGaccount on the directory itself (other location). - Verify that the share you just created shows as an exported share from the MOVEit server using the
\\$Hostname\in Windows Explorer to see the valid options - Once the share and permissions have been created/added, you can proceed to adding the share as a Host in the appropriate MOVEit server.